Mitten Marble Painting
Marble painting is a fun, creative, and easy art project for young kids. The process creates a beautiful marbled effect on paper using simple materials. Here’s how you can do it:
Materials Needed:
- Marbles (or small balls)
- A shallow box or tray (like a baking tray or a box lid)
- Paint (acrylic paint works best, but tempera or watercolor can also be used)
- Paper (preferably thicker paper or watercolor paper)
- A spoon or tweezer (to place marbles into the paint)
- Plastic wrap or newspaper (for easy cleanup)
- Optional: Gloves (if you don’t want your hands to get too messy)
Instructions:
- Prepare your workspace: Cover your work area with plastic wrap, newspaper, or a disposable tablecloth to prevent paint from getting on your surfaces. If you’re using a tray, place it on a flat surface.
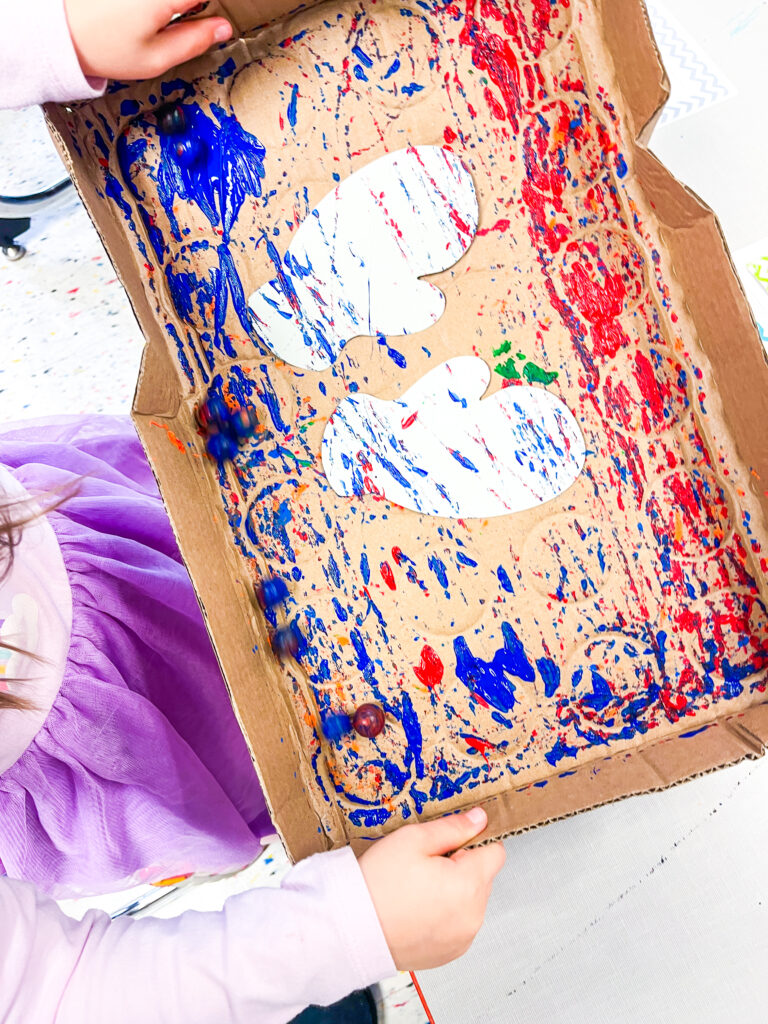
- Set up the paint tray: Pour small amounts of different colored paint onto the bottom of the shallow tray. You can use one color or multiple colors for a more vibrant effect. Be sure not to use too much paint; you only need enough to coat the bottom of the tray lightly.
- Add marbles: Using a spoon or tweezer, place one or more marbles into the paint. You want the marbles to be coated in paint but not so much that the paint overflows the tray.
- Create the marble effect: Gently tilt and rock the tray back and forth, rolling the marbles through the paint. The marbles will roll around, spreading the paint in unique patterns and creating a marbled effect. You can tilt the tray in different directions to make the marbles roll across the entire surface, mixing the colors.
- Prepare the paper: While the marbles are rolling, take a piece of paper and carefully lay it over the top of the paint-covered marbles. Gently press down on the paper to make sure the paint is transferred, but don’t press too hard—you want the marbled effect to remain intact.
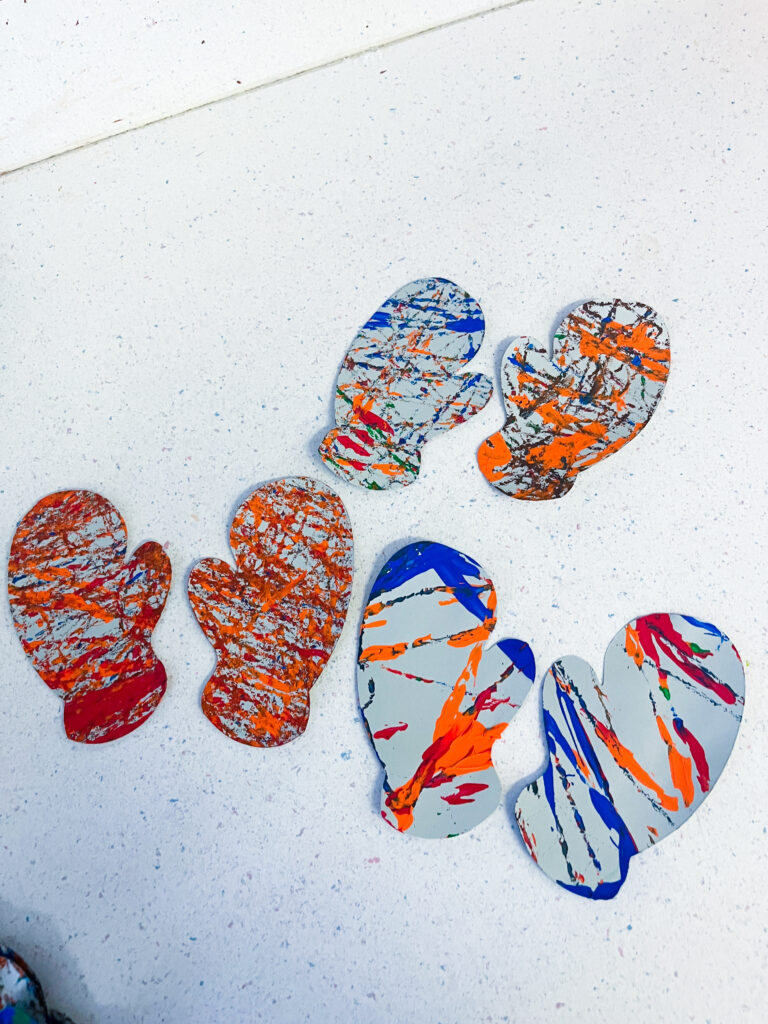
- Lift the paper: After a few moments, carefully lift the paper off the tray, revealing the marbled design. The paint should be transferred onto the paper, leaving a beautiful, swirling effect.
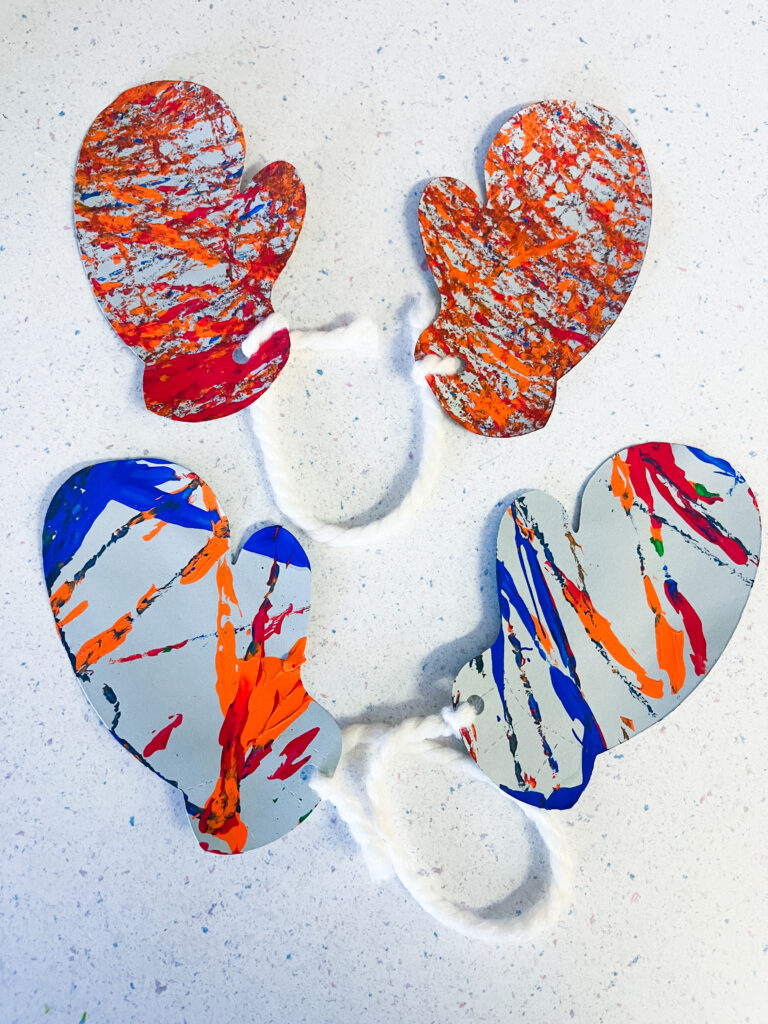
- Let it dry: Allow your marbled artwork to dry completely. You can hang it up, frame it, or use it for other projects!
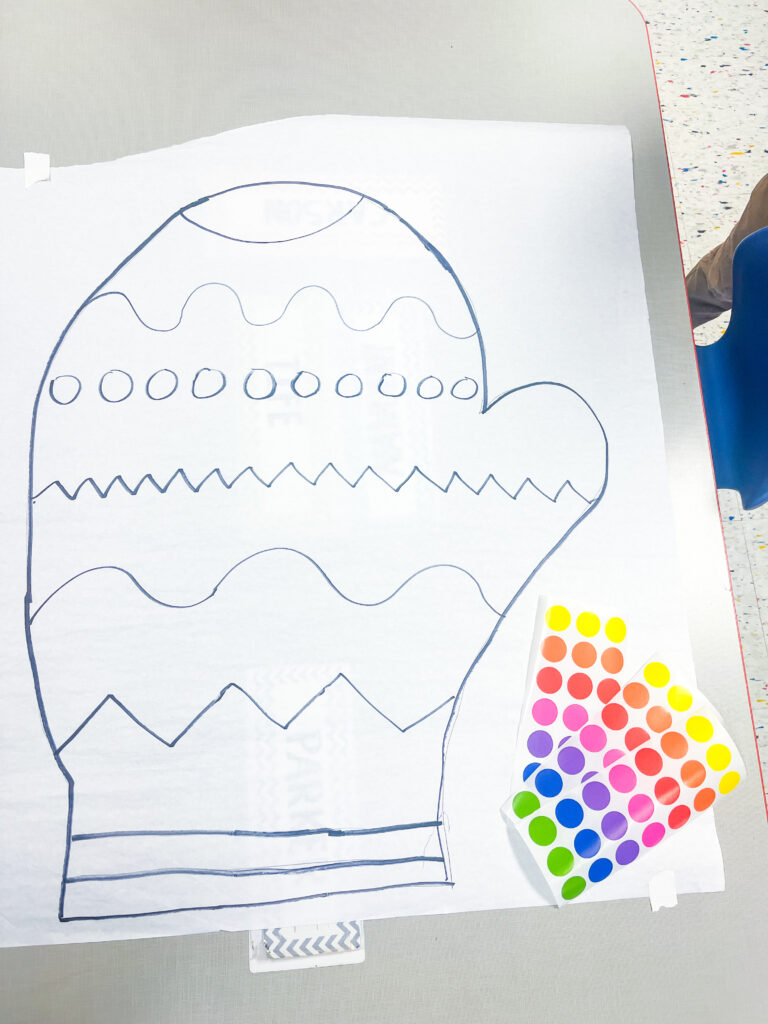
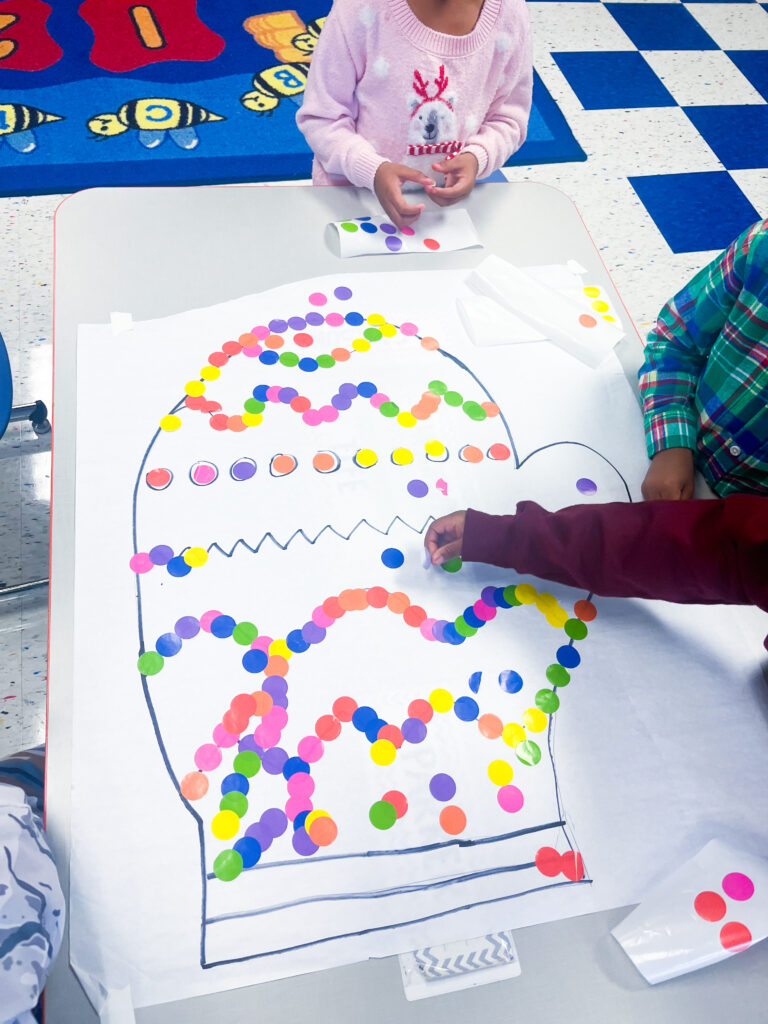
Mitten Bulletin Board Paper Activity
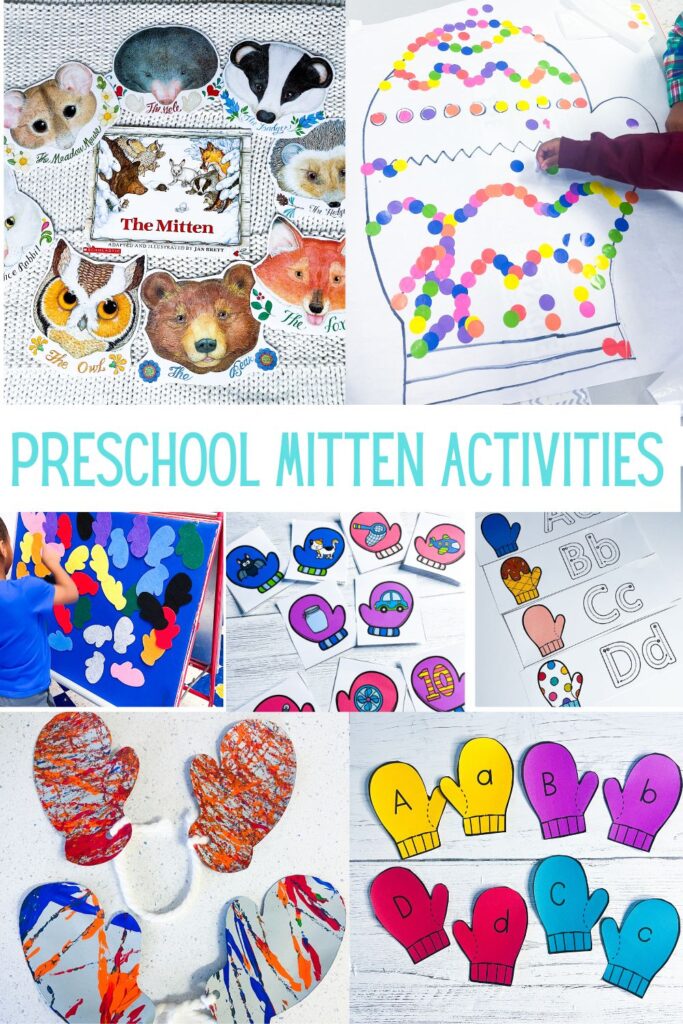
Bulletin board paper activities are always a fun way to practice fine motor skills! Draw a large mitten on the paper with different patterns on it. The students can have fun putting dot stickers on the lines or dotting them with dot markers.
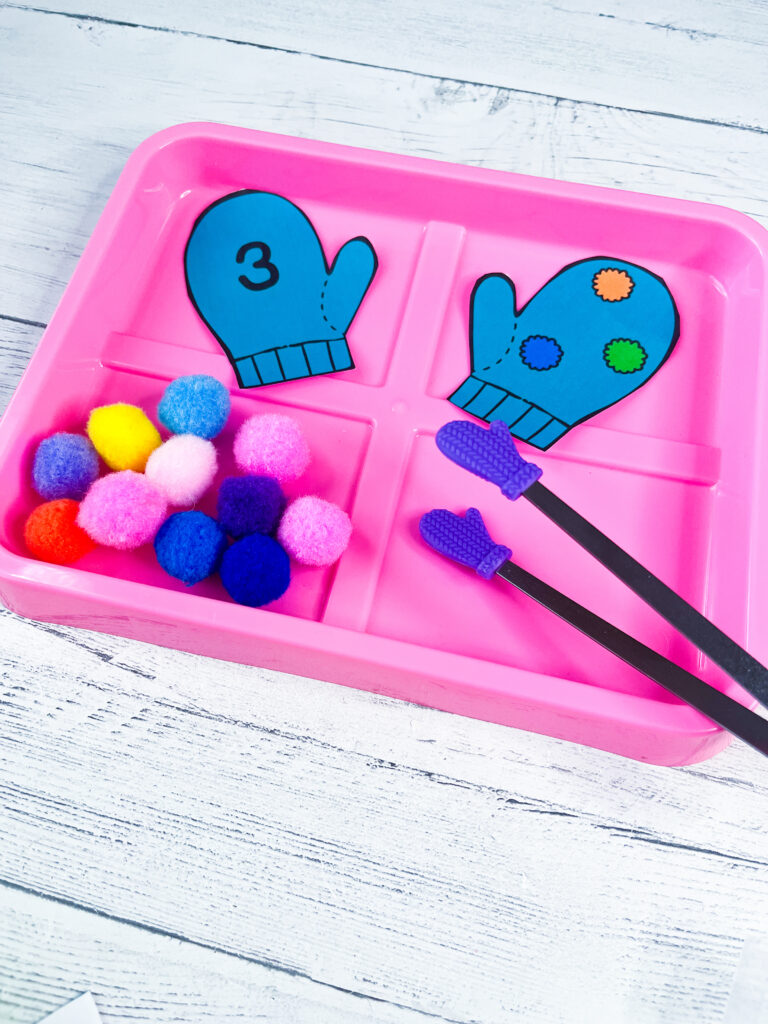
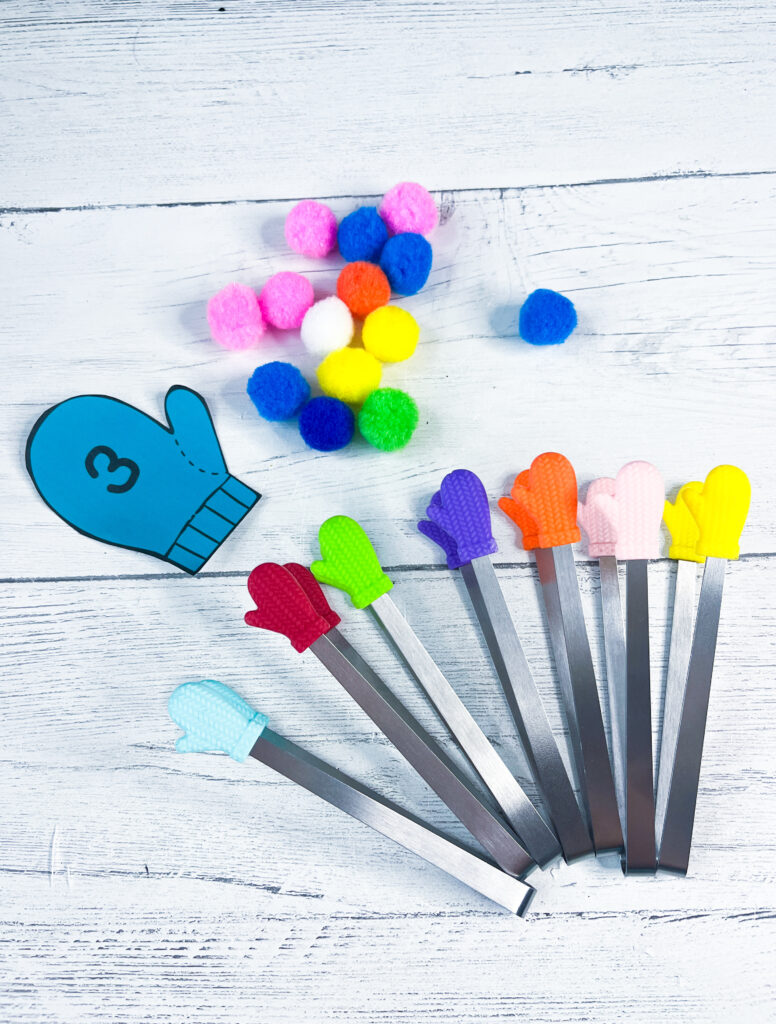
Mitten Fine Motor Activities
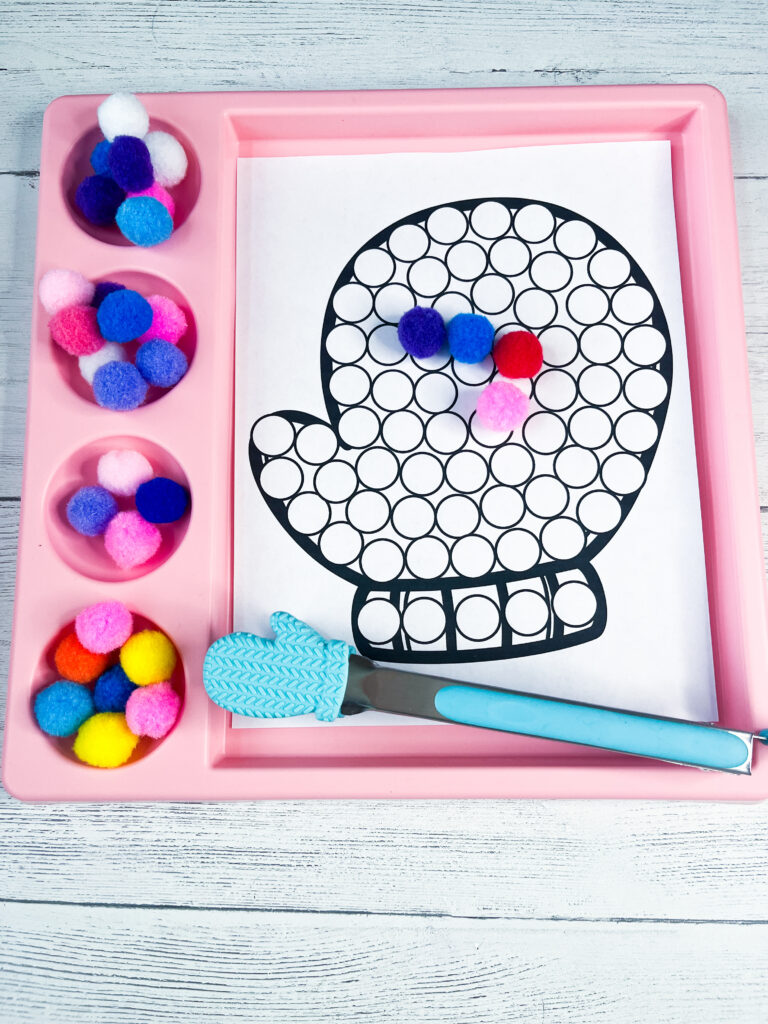
We love using these cute mitten mini tongs for fine motor skills! They are great for strengthening a child’s grip and making fine motor activities more fun. Use them to pick up objects like craft poms, mini erasers, and other small objects.
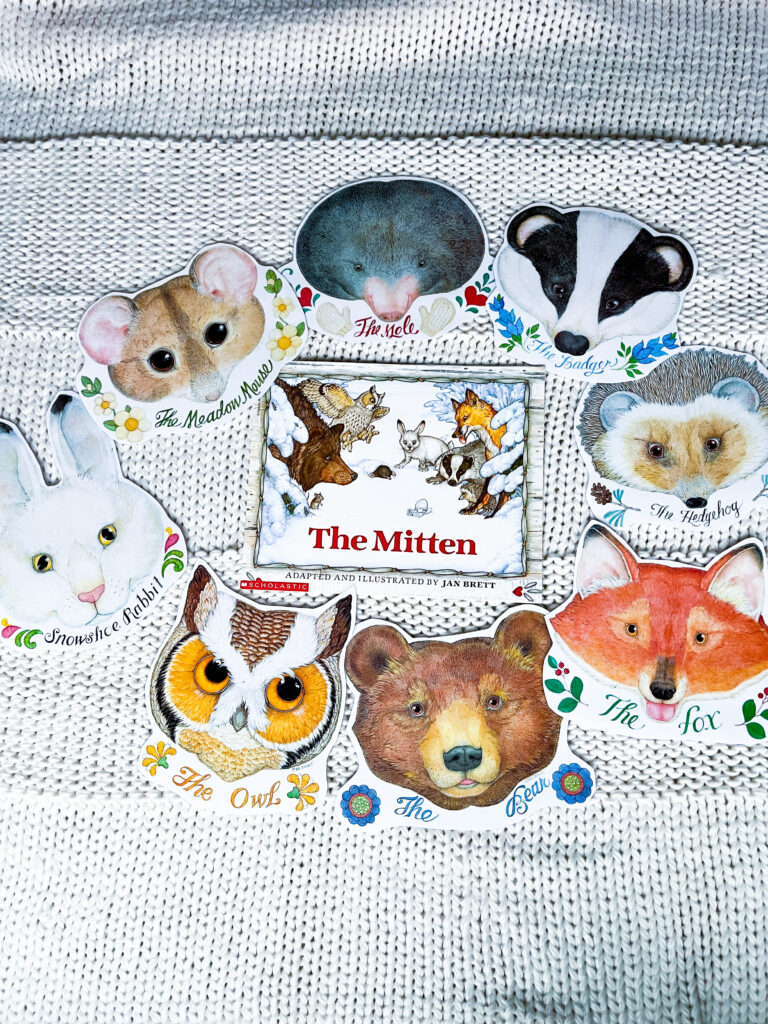
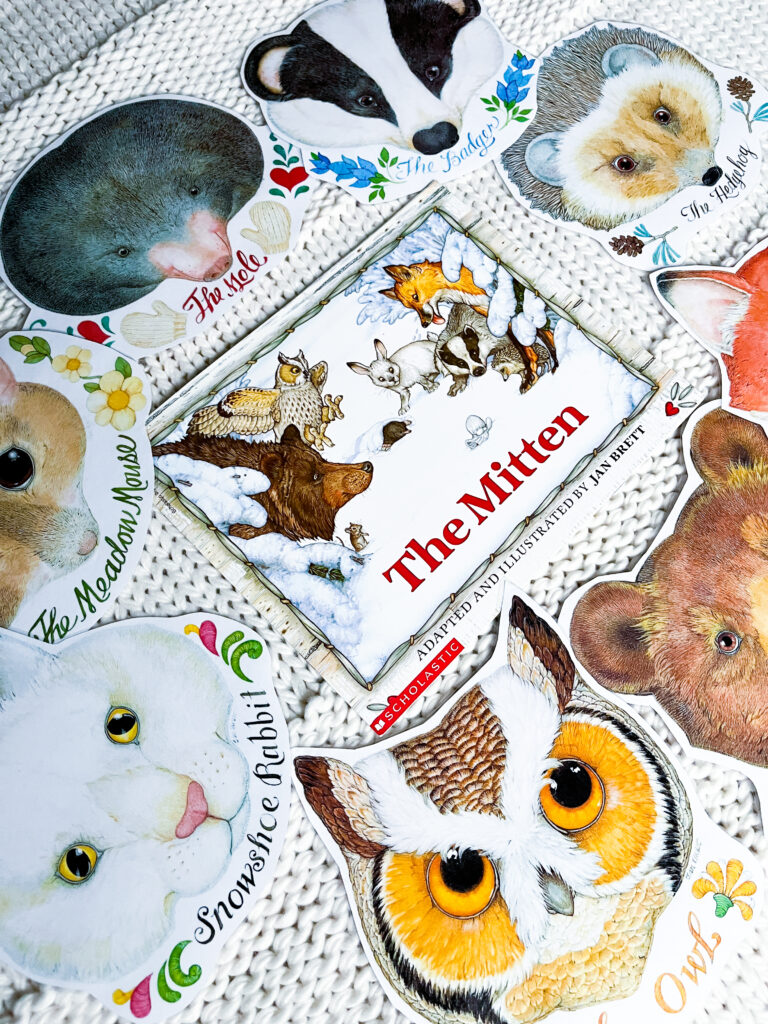
The Mitten by Jan Brett
The Mitten by Jan Brett is a great story with many fun animal characters. I love printing out these character masks and using them to reenact the story and learn about the characters. Check out her website for so many activities and printables!
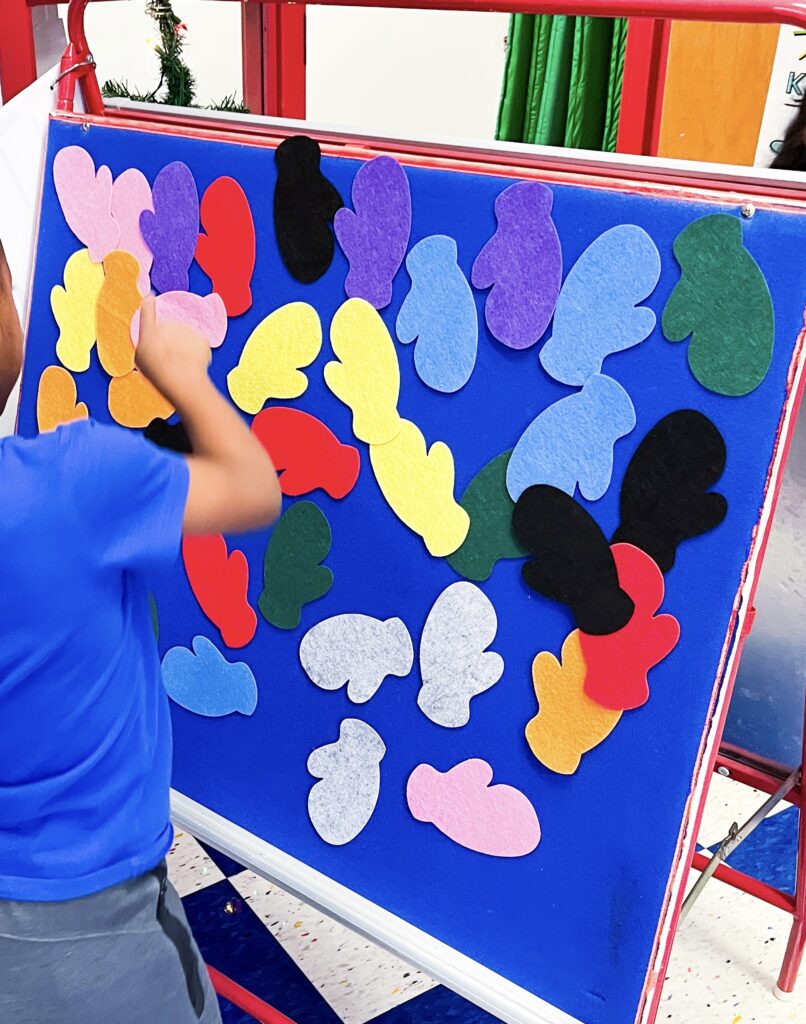
Felt Mitten Activities
Cut mitten shapes out of different colors of felt and use them for different activities on the felt board. Some ideas include:
*Counting
*Patterns
*Sorting
Mitten Activities, Printables, and Worksheets.

*This post contains affiliate links.


