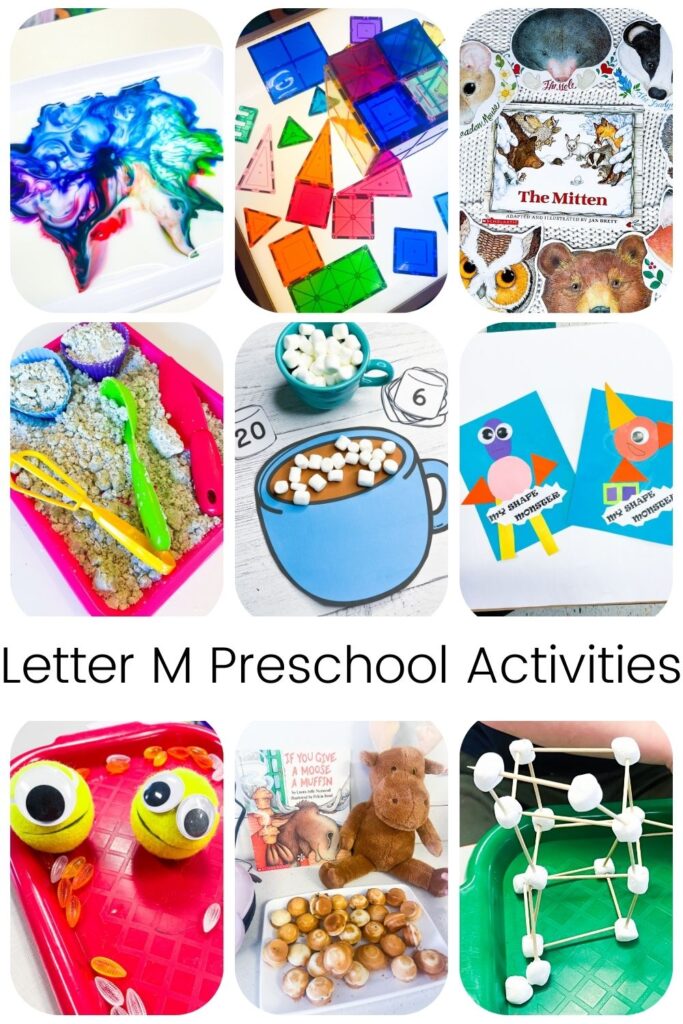

M is for Marshmallows!
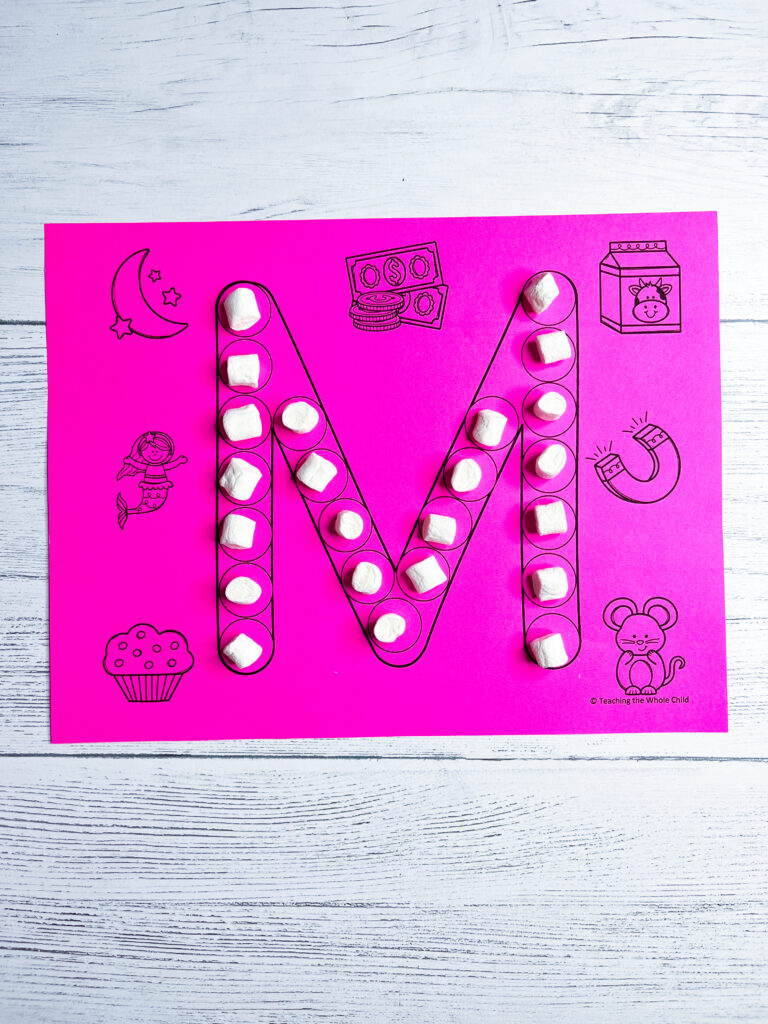
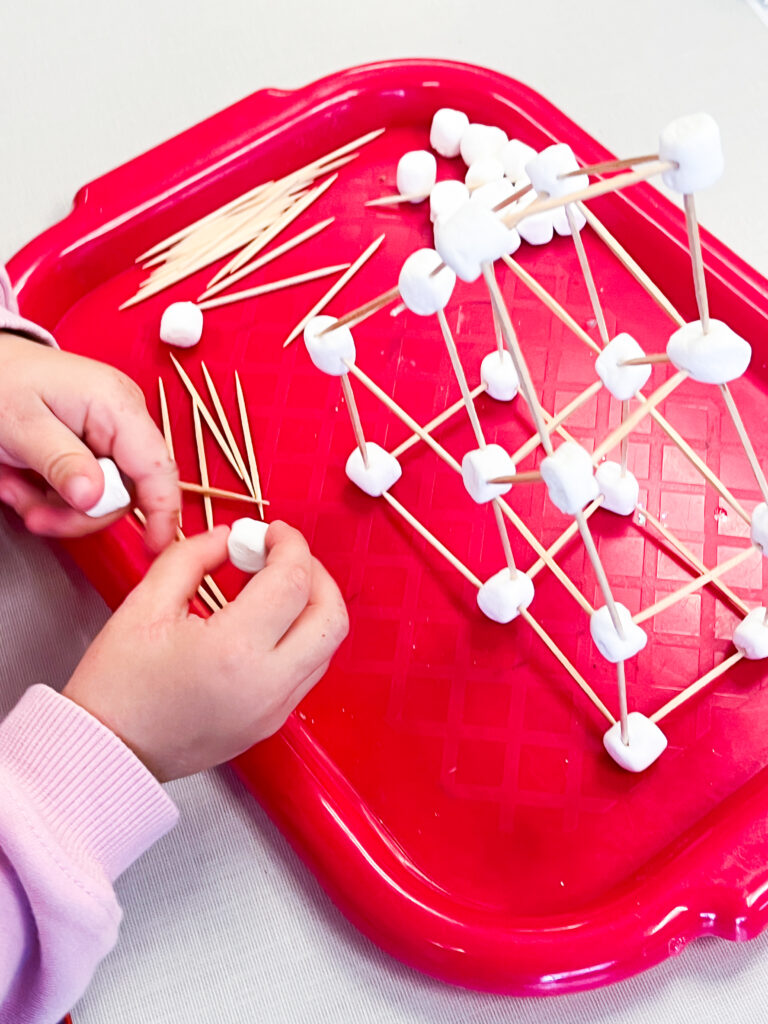
Marshmallows are not only yummy, but they are fun to use with letter M activities! You can use marshmallows to put on the letter M or to count with. It’s also fun to use them to make sculptures! Use them with toothpicks to make shapes and other structures.
Marshmallow Activity Printables
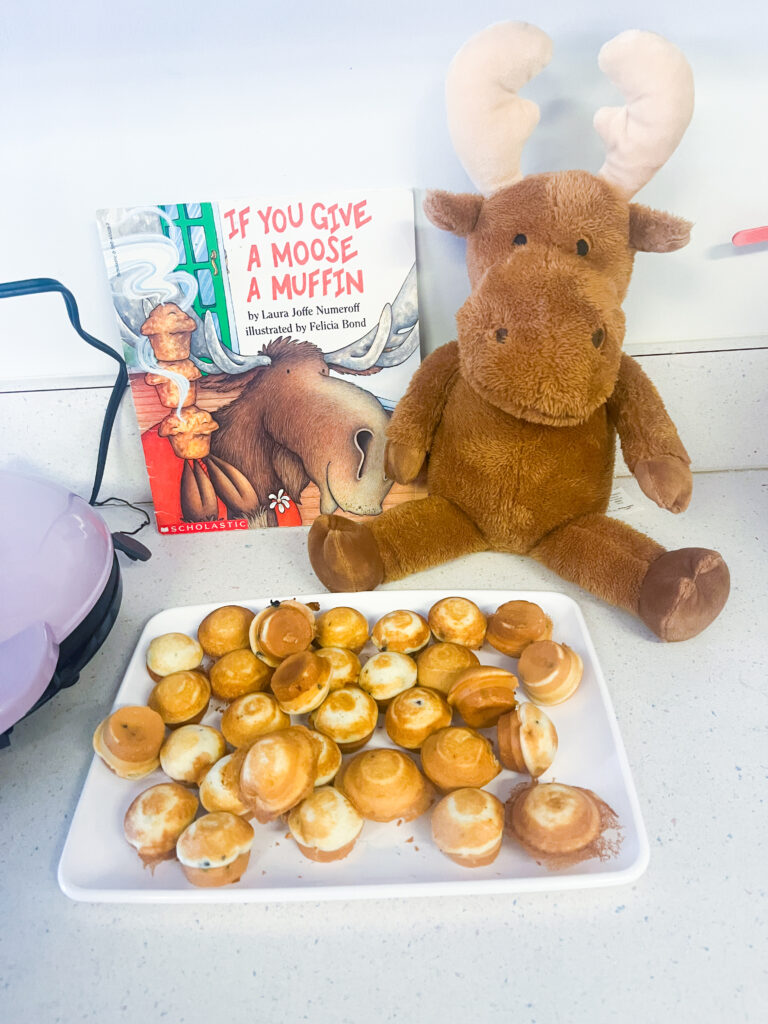
M is for Muffins!
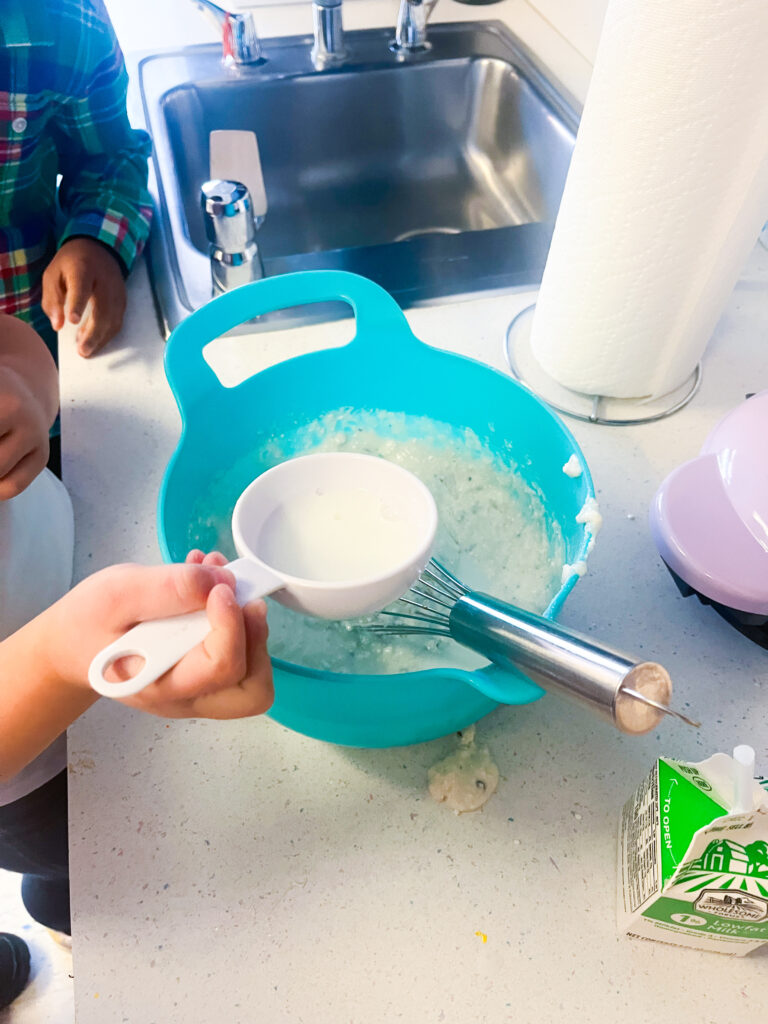
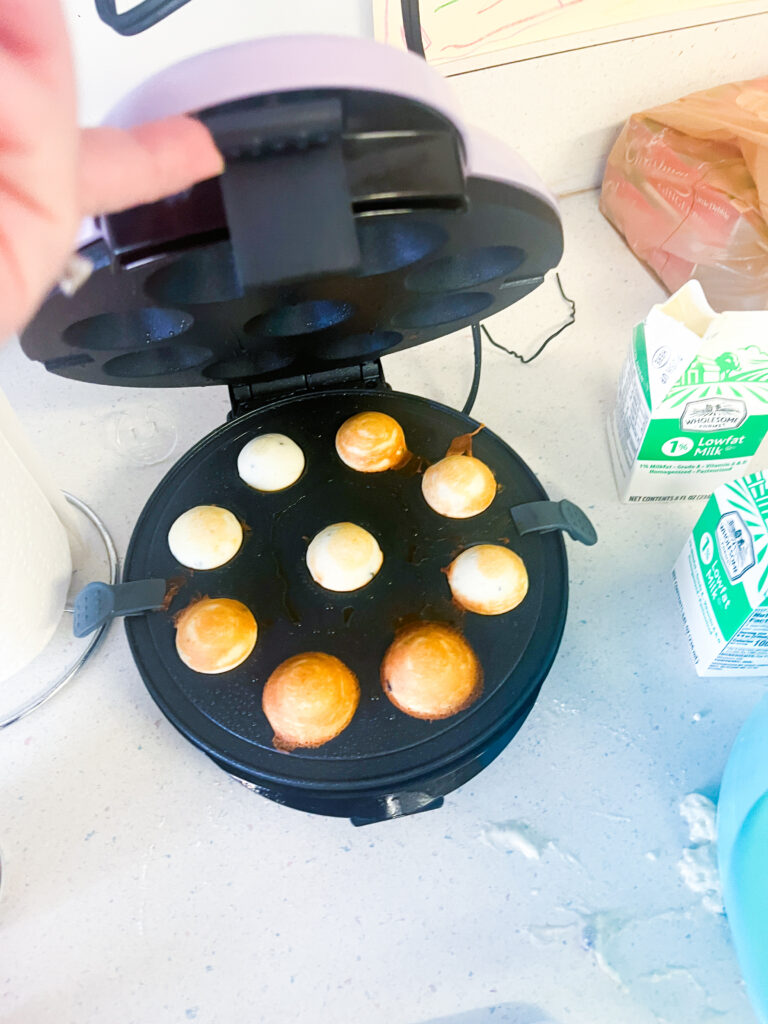
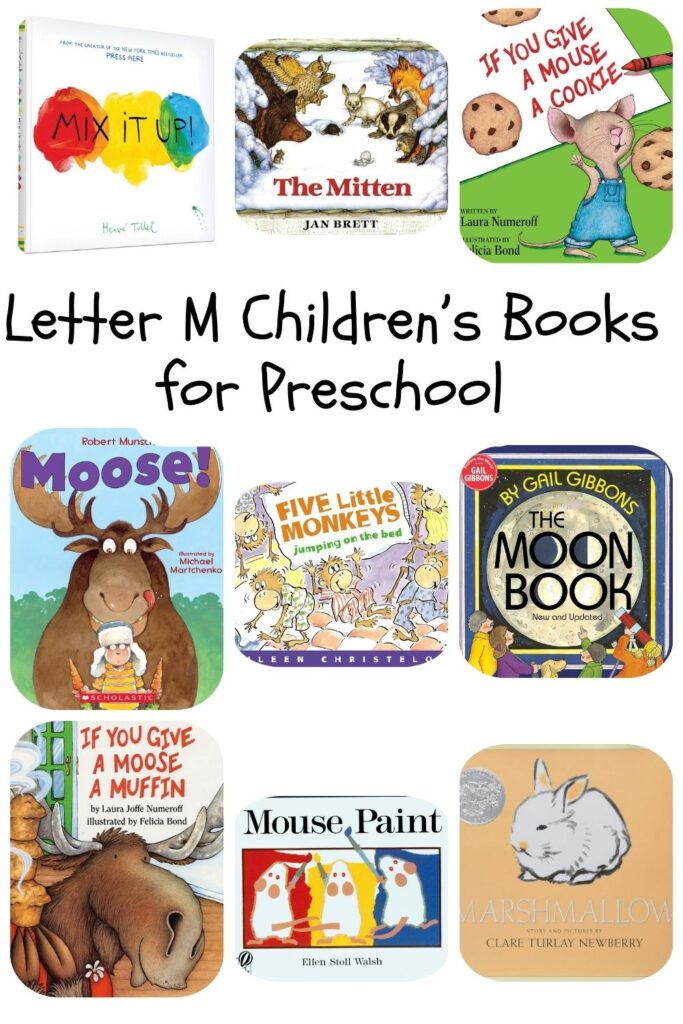
We love class cooking and enjoy reading If You Give a Moose a Muffin and making mini muffins while we learn about the letter M! I found a mini cupcake and muffin maker which was perfect for classroom cooking!
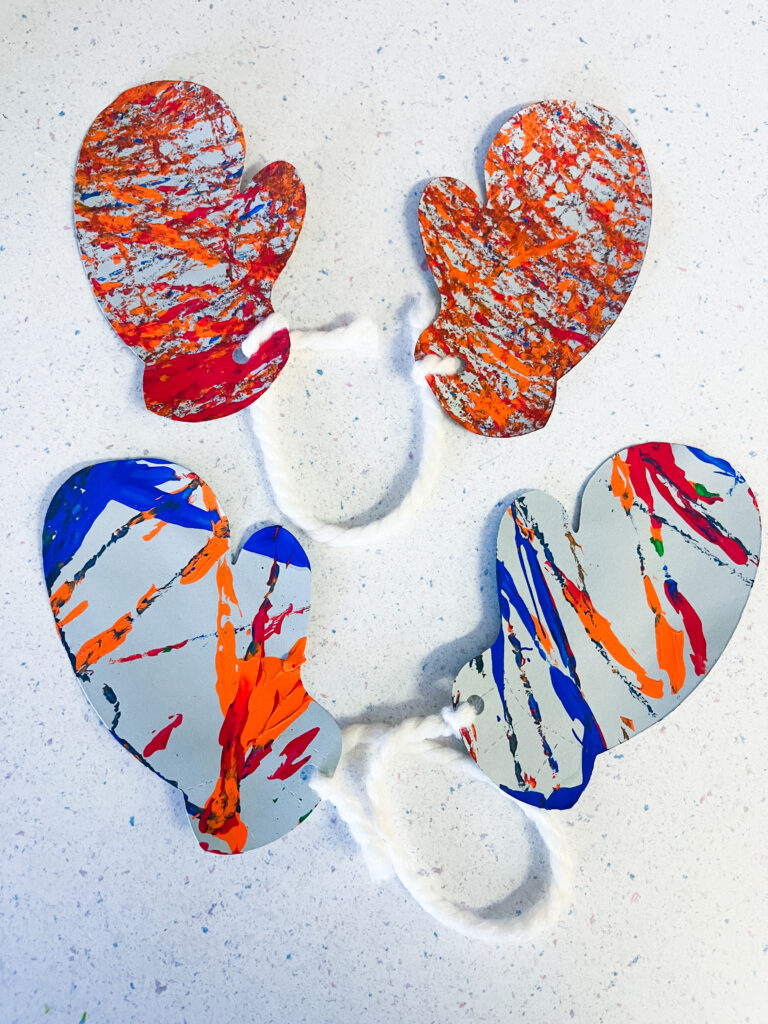
M is for Mittens!
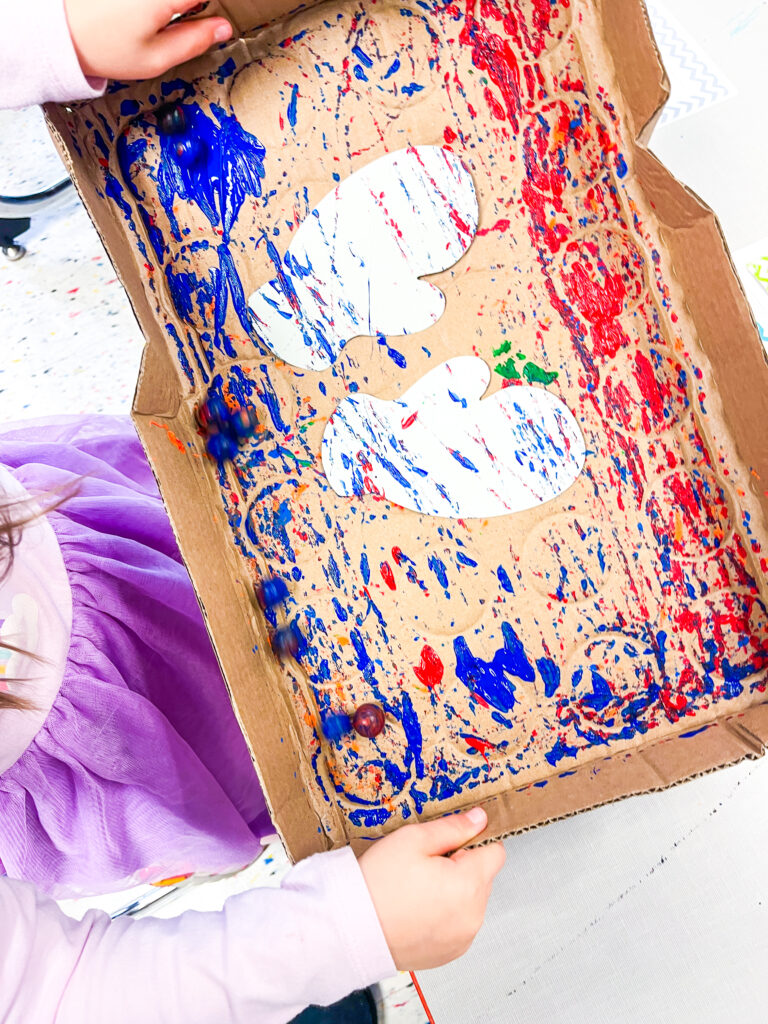
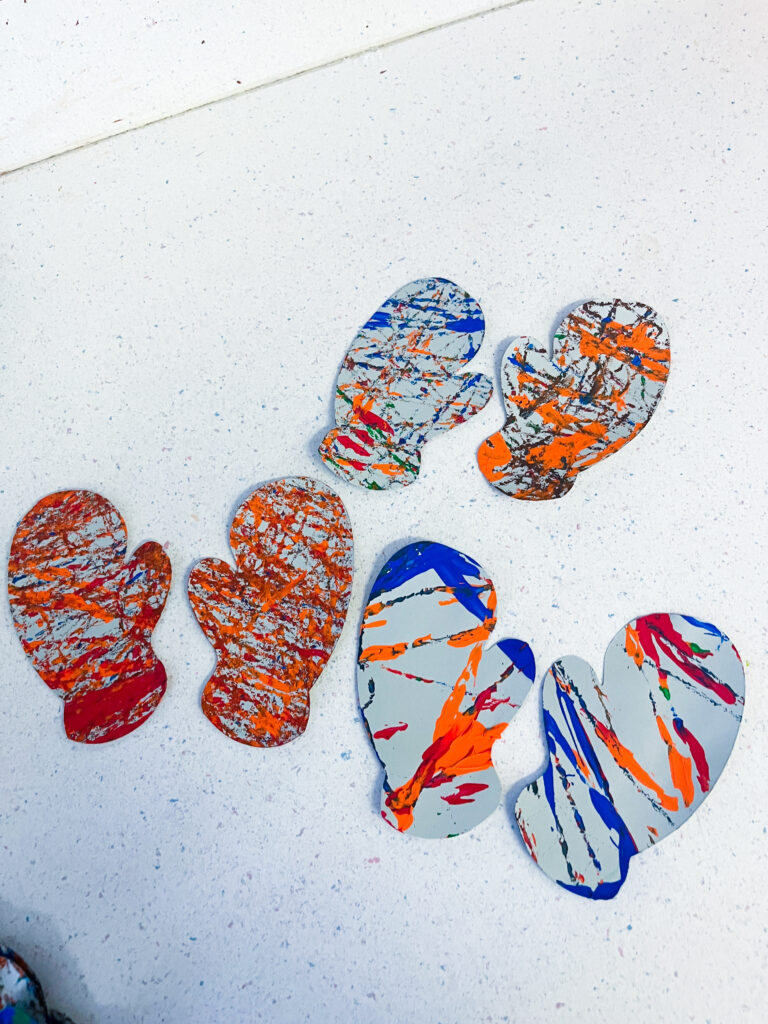
Mitten Marble Painting
Marble painting is a fun, creative, and easy art project for young kids. The process creates a beautiful marbled effect on paper using simple materials. Here’s how you can do it:
Materials Needed:
- Marbles (or small balls)
- A shallow box or tray (like a baking tray or a box lid)
- Paint (acrylic paint works best, but tempera or watercolor can also be used)
- Paper (preferably thicker paper or watercolor paper)
- A spoon or tweezer (to place marbles into the paint)
- Plastic wrap or newspaper (for easy cleanup)
- Optional: Gloves (if you don’t want your hands to get too messy)
Instructions:
- Prepare your workspace: Cover your work area with plastic wrap, newspaper, or a disposable tablecloth to prevent paint from getting on your surfaces. If you’re using a tray, place it on a flat surface.
- Set up the paint tray: Pour small amounts of different colored paint onto the bottom of the shallow tray. You can use one color or multiple colors for a more vibrant effect. Be sure not to use too much paint; you only need enough to coat the bottom of the tray lightly.
- Add marbles: Using a spoon or tweezer, place one or more marbles into the paint. You want the marbles to be coated in paint but not so much that the paint overflows the tray.
- Create the marble effect: Gently tilt and rock the tray back and forth, rolling the marbles through the paint. The marbles will roll around, spreading the paint in unique patterns and creating a marbled effect. You can tilt the tray in different directions to make the marbles roll across the entire surface, mixing the colors.
- Prepare the paper: While the marbles are rolling, take a piece of paper and carefully lay it over the top of the paint-covered marbles. Gently press down on the paper to make sure the paint is transferred, but don’t press too hard—you want the marbled effect to remain intact.
- Lift the paper: After a few moments, carefully lift the paper off the tray, revealing the marbled design. The paint should be transferred onto the paper, leaving a beautiful, swirling effect.
- Let it dry: Allow your marbled artwork to dry completely. You can hang it up, frame it, or use it for other projects!
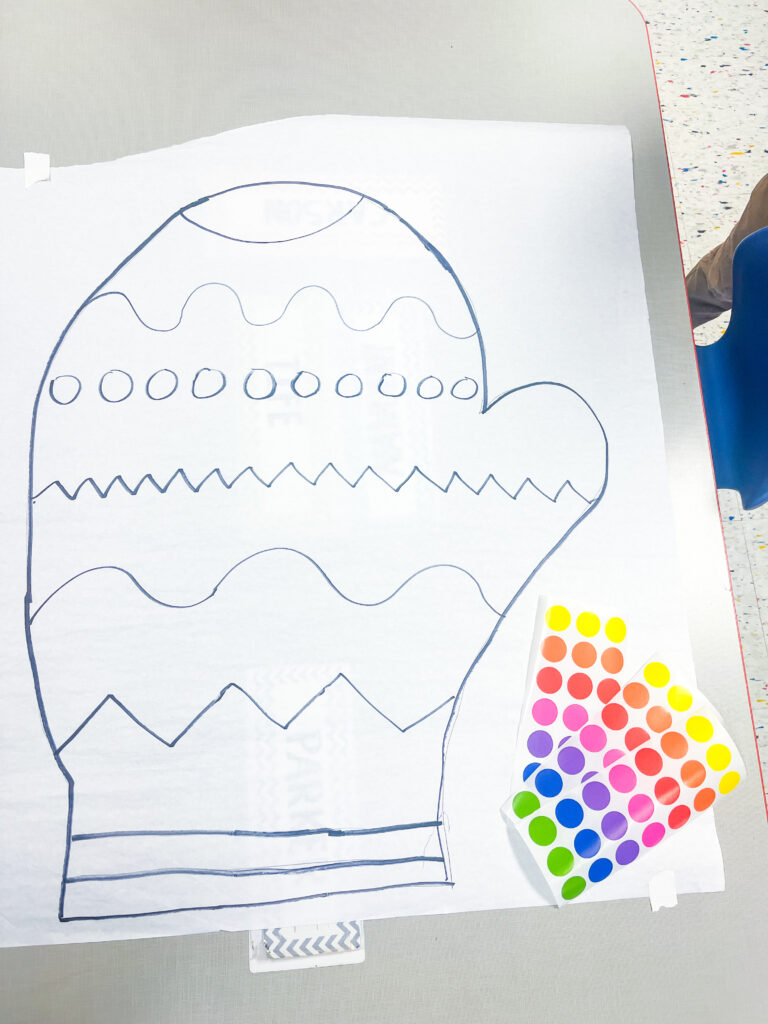
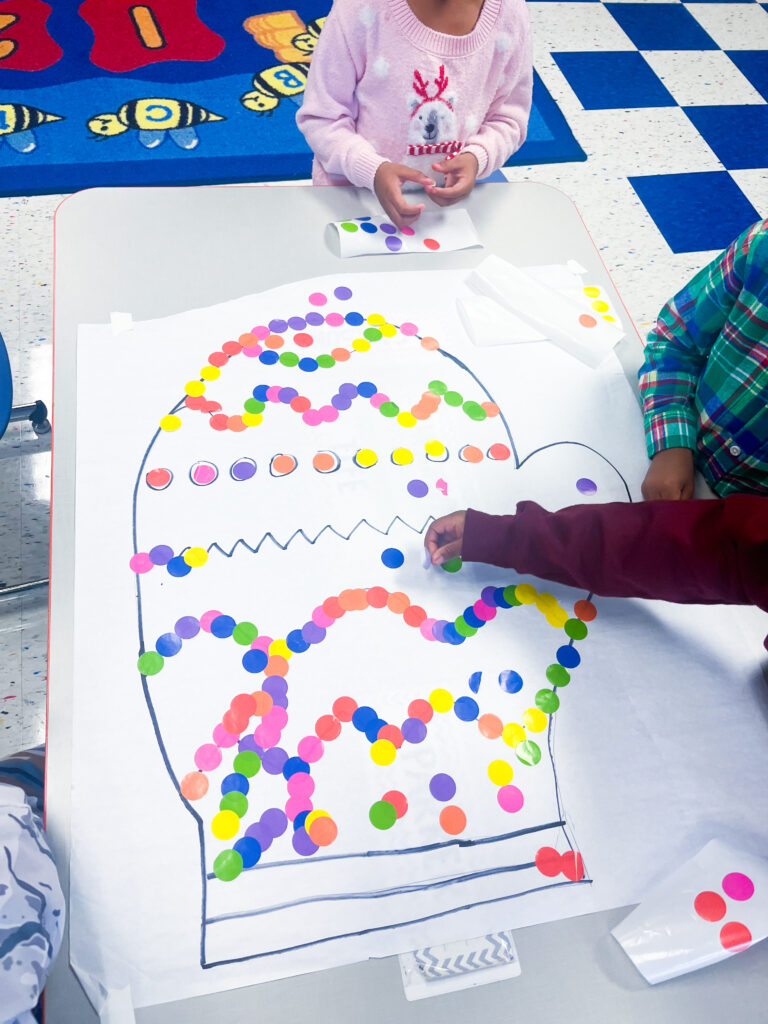
Mitten Bulletin Board Paper Activity
Bulletin board paper activities are always a fun way to practice fine motor skills! Draw a large mitten on the paper with different patterns on it. The students can have fun putting dot stickers on the lines or dotting them with dot markers.
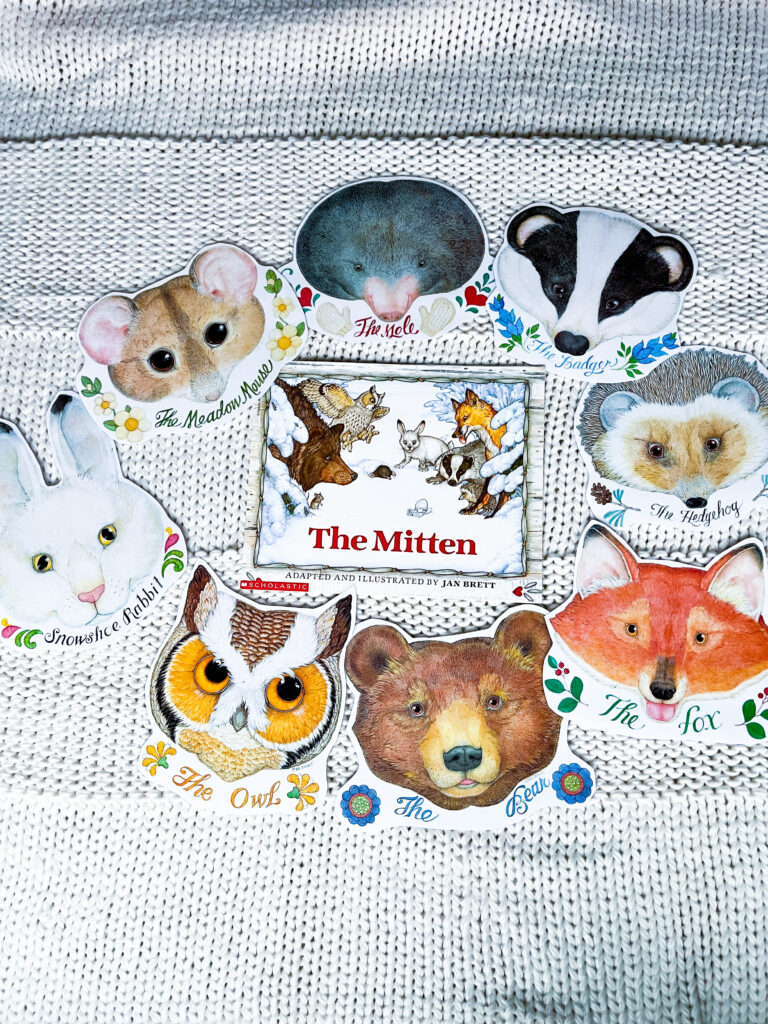
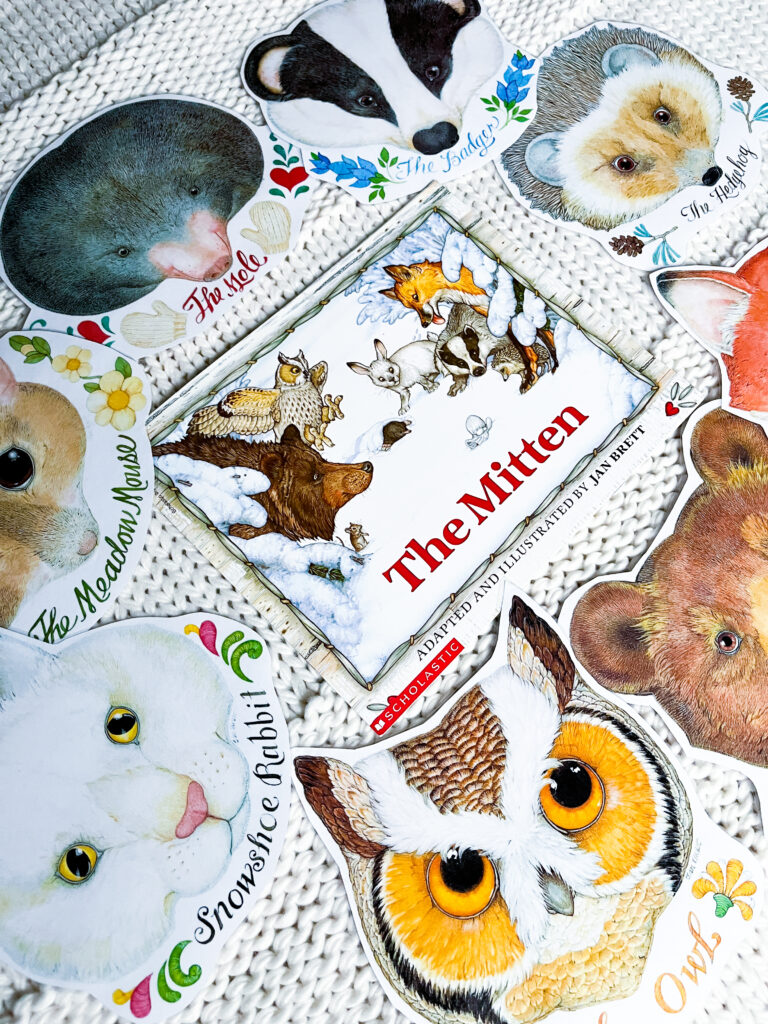
The Mitten by Jan Brett
The Mitten by Jan Brett is such a great story with many fun animal characters. I love printing out these character masks and using them to reenact the story and learn about the characters. Check out her website for so many activities and printables!
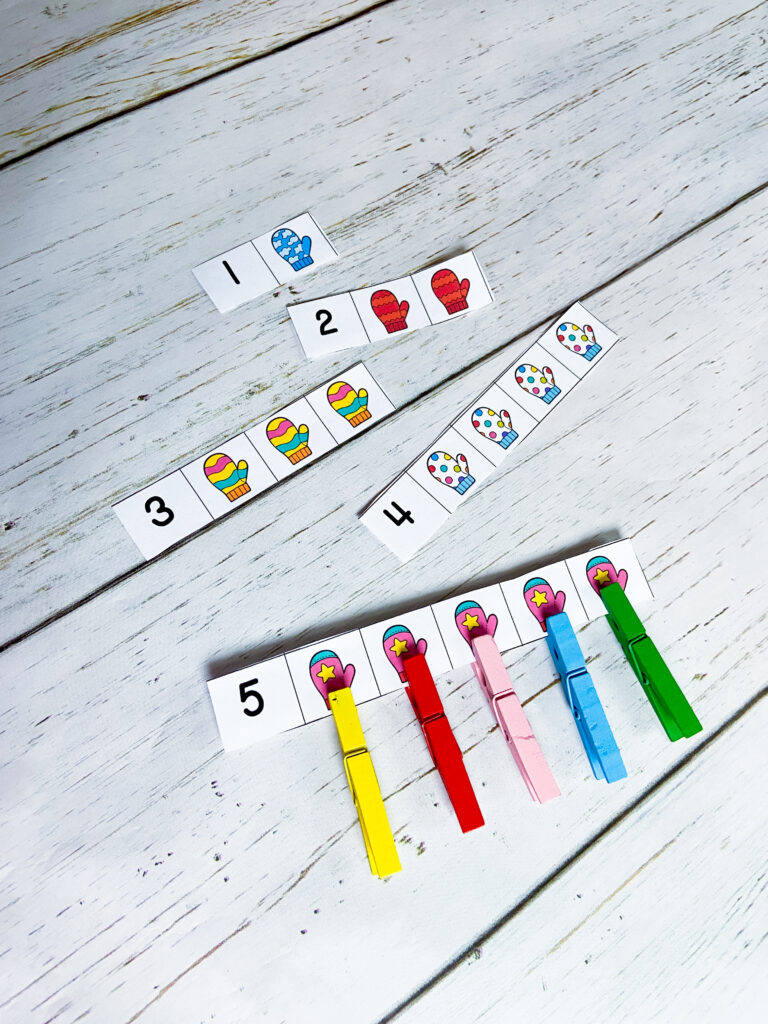
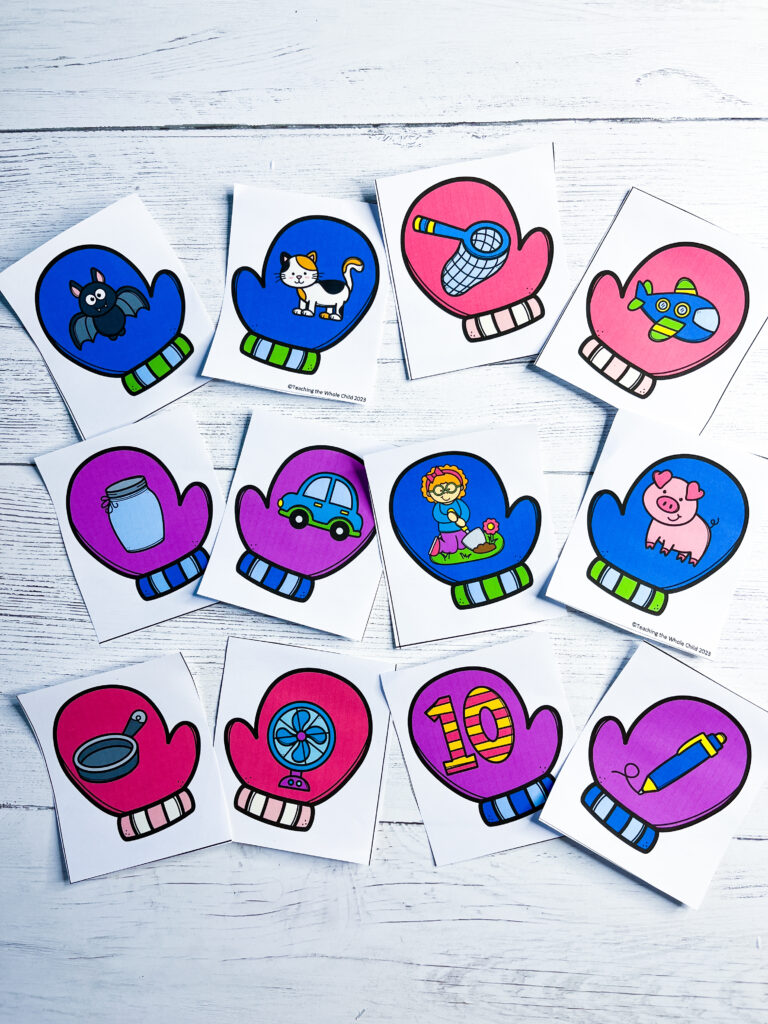
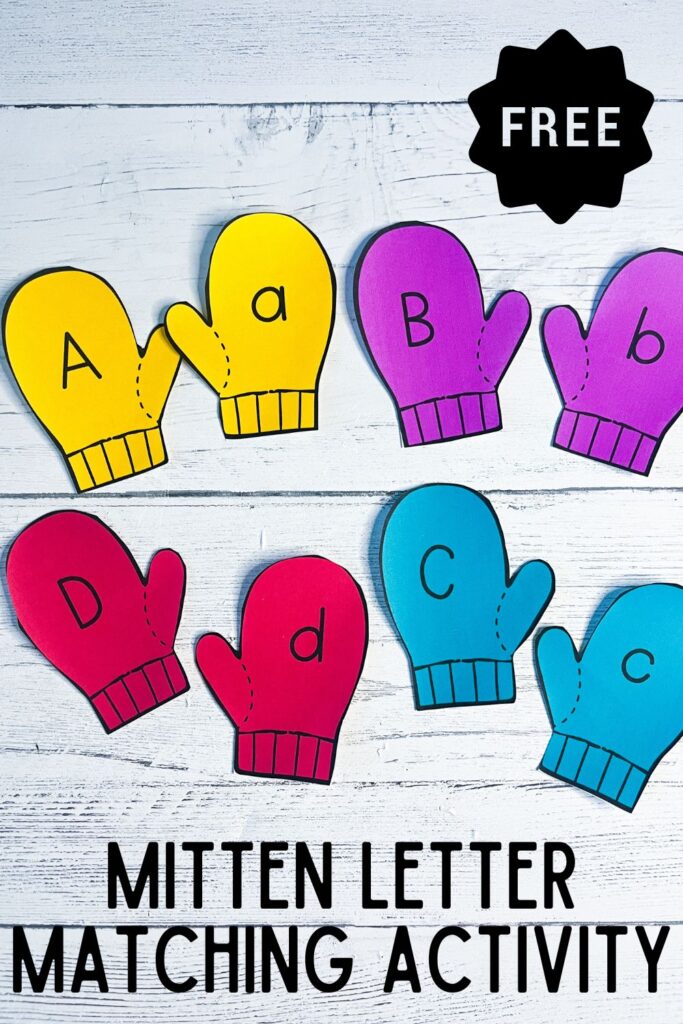
Mitten Activities, Printables, and Worksheets.

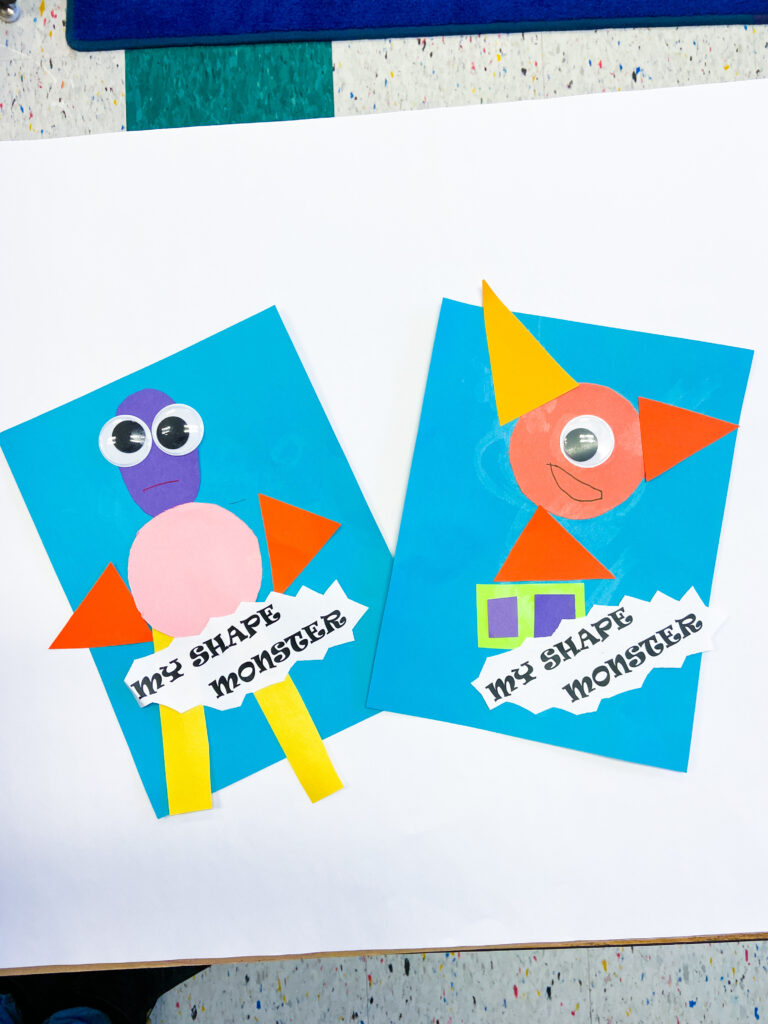
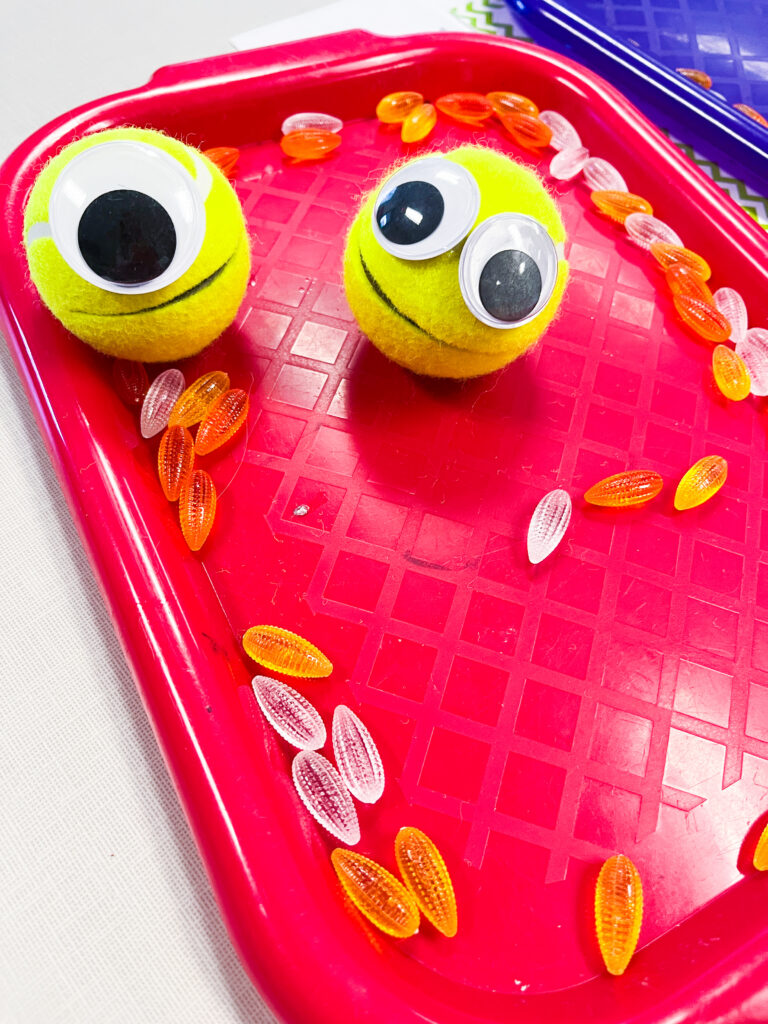
M is for Monster!
*Shape Monsters: Students can have fun being creative with different shape cutouts to make their shape monster.
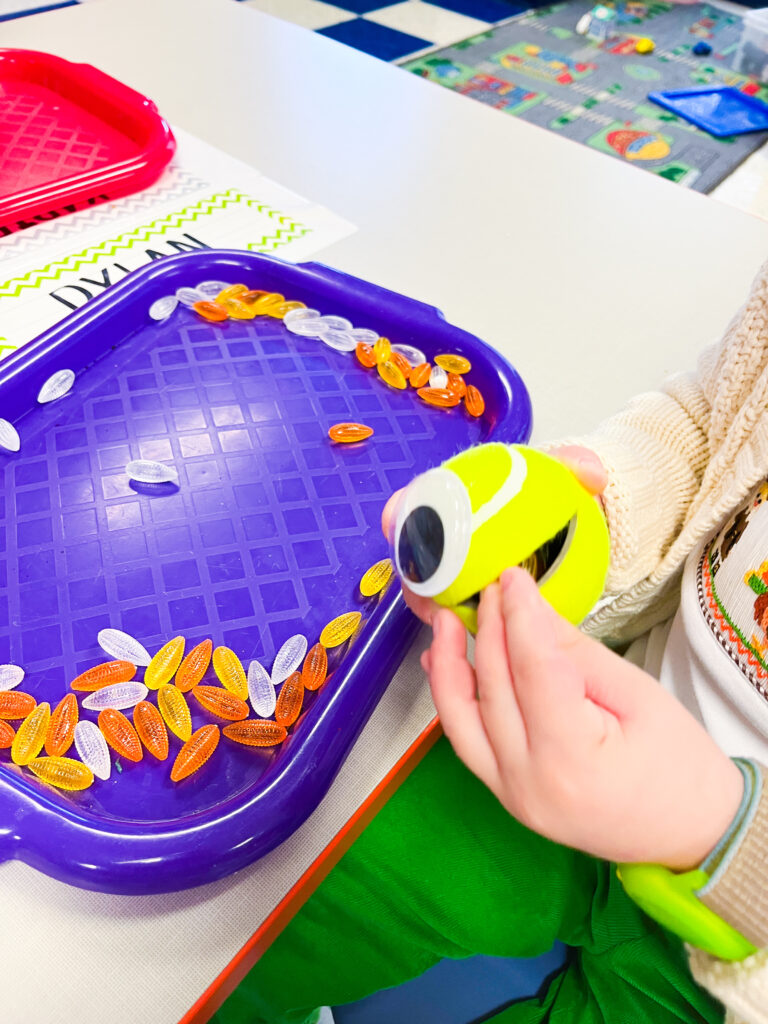
*Monster Chompy Balls: Practice fine motor skills by “feeding” the monsters. Cut a slit in a tennis ball (be careful!) or use precut ones from Amazon to use to strengthen fine motor skills while feeding the monster craft poms, acrylic scatters, or other small objects.
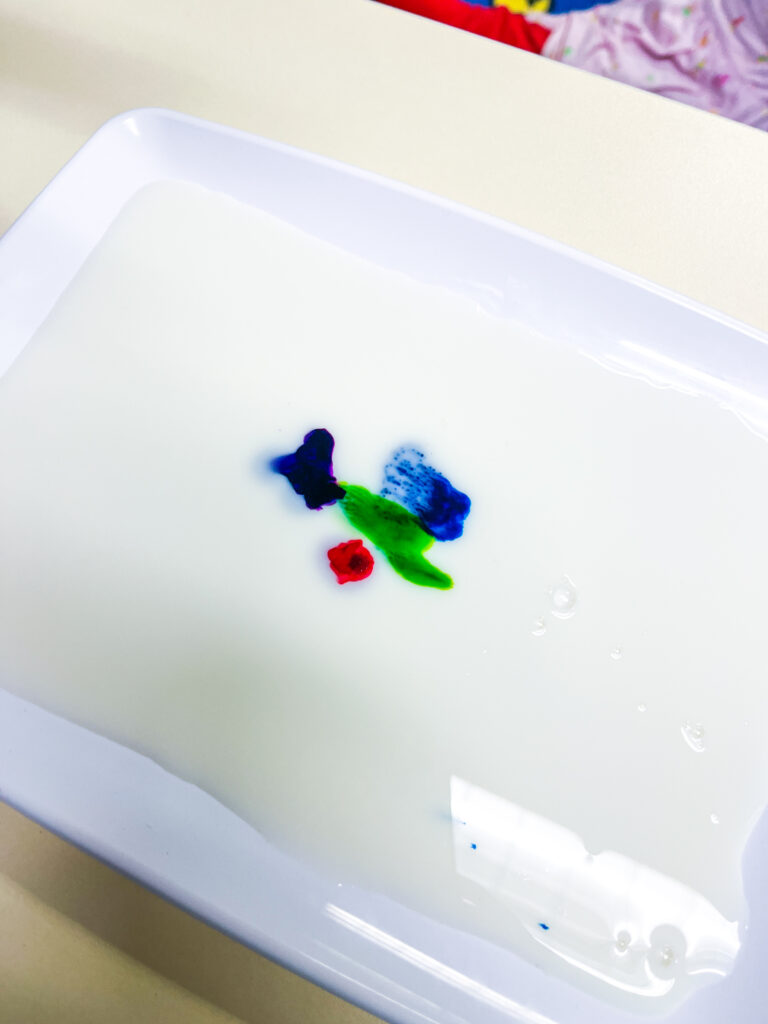
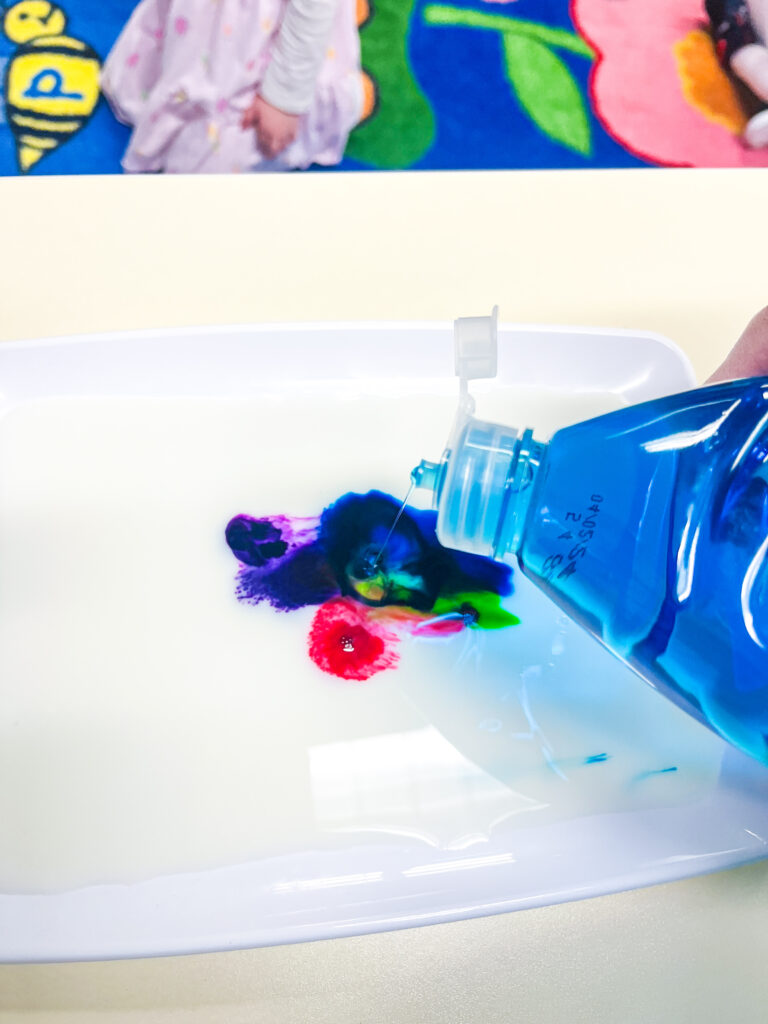

Magic Milk Experiment
The Magic Milk Experiment is a fun and colorful science activity that explores the concept of surface tension and how liquids interact. It’s easy to set up and can be a visually stunning demonstration of chemistry for kids and adults alike. Here’s how to do it:
Materials Needed:
- A shallow dish or plate (a white plate works best so you can see the colors clearly)
- Whole milk (the higher fat content works best)
- Food coloring (multiple colors)
- Dish soap (liquid soap works best)
- Cotton swab or a dropper
Instructions:
- Pour the milk: Pour enough milk into the shallow dish to cover the bottom. You want to have a thin layer, but not too deep—about 1/4 to 1/2 inch works well.
- Add food coloring: Drop several different colors of food coloring in various spots in the milk. You can use different colors like red, blue, yellow, and green to make it more vibrant and exciting. Don’t mix the food coloring; just place the drops randomly in the milk.
- Dip the cotton swab in soap: Take a cotton swab (or dropper) and dip the tip into some liquid dish soap. You only need a small amount.
- Touch the milk: Gently touch the tip of the soap-covered cotton swab or dropper to the surface of the milk, ideally near the food coloring spots.
- Watch the magic: The soap will break the surface tension of the milk, and you’ll see the food coloring swirl and spread out in beautiful patterns. The colors will move away from the point where the soap touched, creating a mesmerizing effect.

M is for Moon Sand!
Making moon sand is super easy and fun! It’s a sensory-friendly, moldable material that feels similar to sand but has a soft, dough-like texture. Here’s how you can make it at home:
Ingredients:
- 4 cups of flour
- 1/2 cup of baby oil (or vegetable oil, if preferred)
Instructions:
- Mix the flour and oil: In a large bowl, add the flour.
- Slowly add the oil: Gradually pour in the baby oil (or vegetable oil). Start mixing with your hands or a spoon.
- Mix thoroughly: Continue to knead and mix until the texture becomes crumbly but moldable. If it’s too dry, you can add a little more oil, a tablespoon at a time, until it reaches the right consistency.
- Test the consistency: The moon sand should hold its shape when you squeeze it but still break apart easily. If it’s too wet, add more flour; if it’s too dry, add a bit more oil.
Optional:
- Add color: For a fun twist, you can mix in a few drops of food coloring (either directly into the oil or in the flour), or add glitter for a sparkly effect.
- Scent it: A few drops of essential oils (like lavender or peppermint) can give it a nice fragrance.
How to Use:
- You can play with the moon sand by molding it into shapes, digging, and creating mini landscapes. It’s great for sensory play and can be stored in an airtight container for future use.
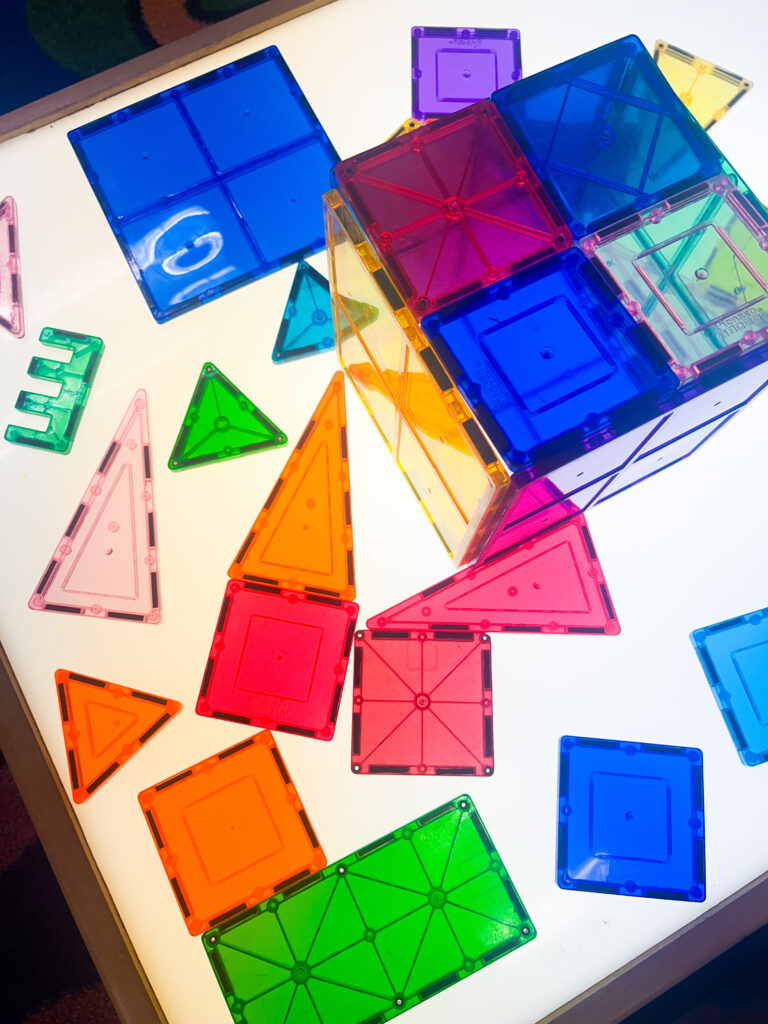
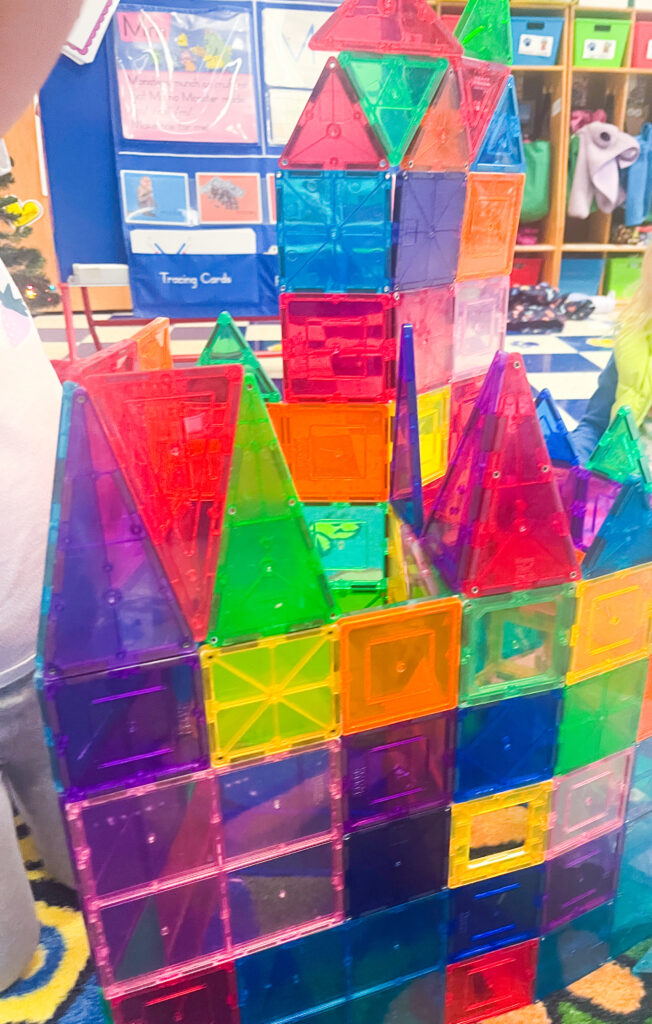
M is for Magnets (and Magnatiles)!
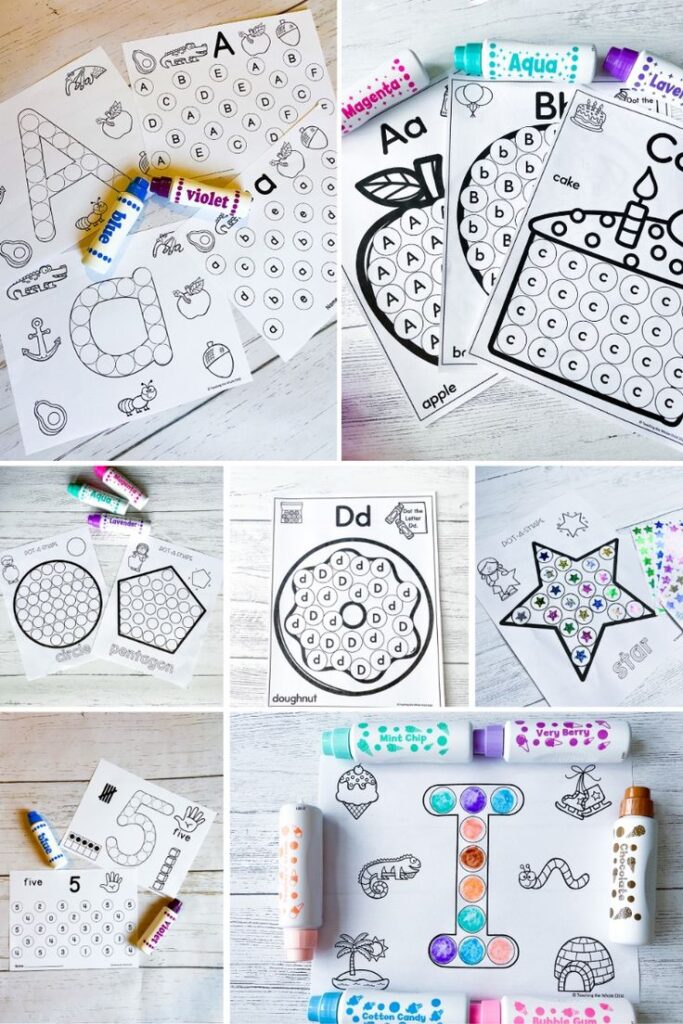
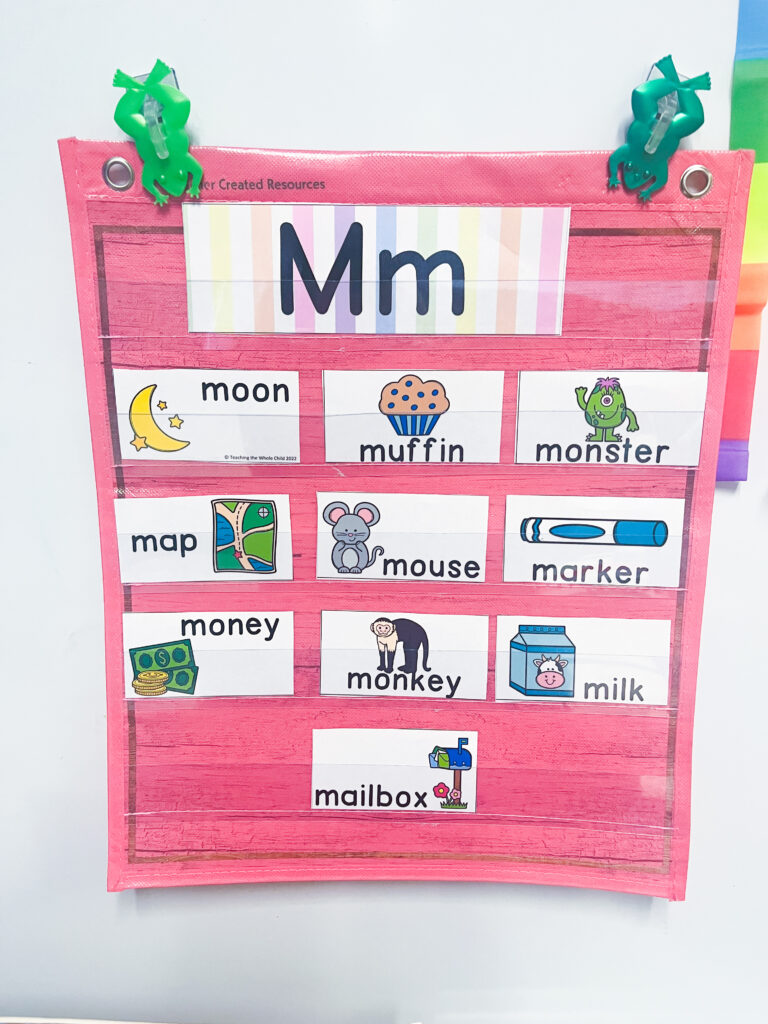
Letter Activities and Printables
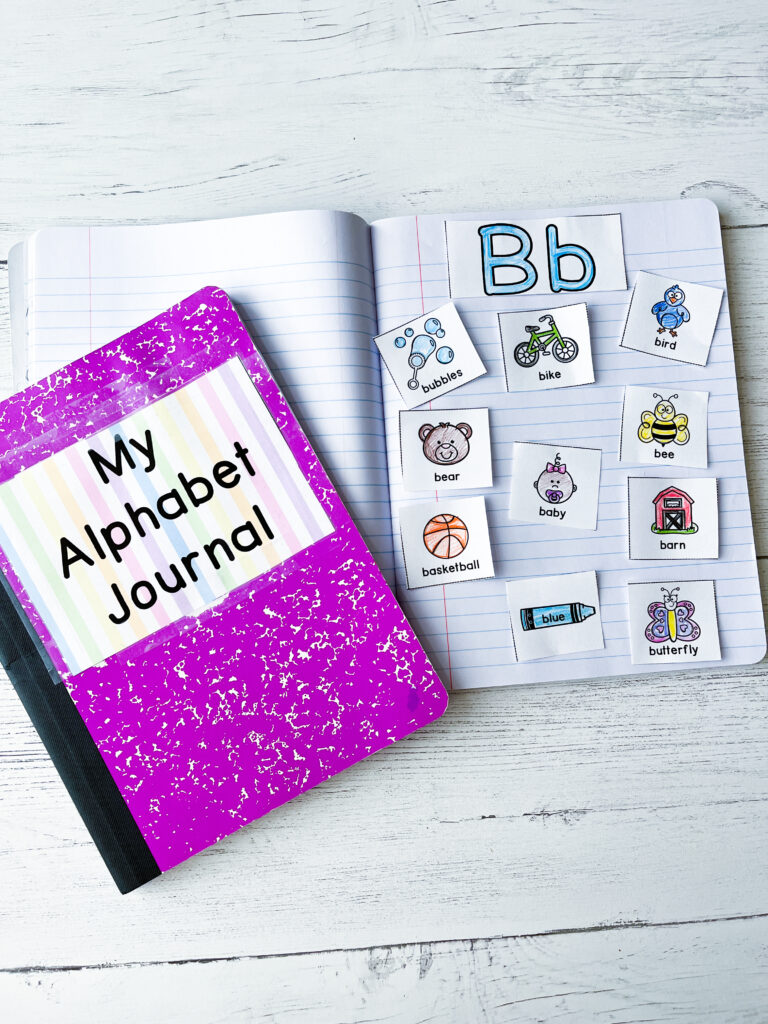
*This post contains affiliate links.


